 After months, years of wanting and contemplating the wait is over. The task of buying an airbrush is finally done! I feel sort of silly having waited so long but I guess the timing wasn’t right until now. This was really a very easy thing to do and inexpensive as well. Who knew?
The Gun- Badger Mini Spray Gun Set. A mere $25, plus shipping! This set includes: the gun, 1 jar for paint, air hose, regulator, and a 7 oz. can of compressed air to start with. The scalehobbyist.com has a great price on propel air. I will continue to used this for small production and eventually upgrade to an air compressor when necessary.
The paints- Chef Rubber colored Cocoa butter – Jewel Collection
As I mentioned in a previous post about hand painting, I prefer this particular collection because it sparkles. Many other Chocolatiers use plain cocoa butter colors and add a gold luster dust on after for the same effect. This gold dust can be expensive and this paint works just as well.
I had some left over Pearl Collection Paint I was saving for the day I got my airbrush. I was previously unhappy using it with my brush techniques. The airbrush creates a more even layer of paint and I was hoping that this would flatter the Pearl colors. Alas I am still disappointed with the overall look of this collection so I will continue to stick with the Jewel.
I also tried spraying with a matte red, no sparkles and it seemed to look so dull to me and a bit cheesy. Even though sparkly paint is great it might not always yield desired results due to color. A forest green I used on dark chocolate, for which I was hoping to spruce up the Mojito truffle never seemed to work out either. So I will continue experimenting with different shades of color, for both milk and dark chocolate, to create colorful chocolates with class.
The Technique- Warming, Spraying, Clean-up
Warming- I began by warming the colorant in its plastic container, in the microwave. First take off the lid and heat for one minute and then take out return lid and shake. Repeat three times, or until colorant is thoroughly melted. Then transfer to the jar for painting. I quickly discovered how time consuming this was going to be with only one jar for colorant and having to clean it out after each use of a new color seemed to be wasteful. So I then ordered a dozen more jars from a hobby shop on line so I could have one for each color, also inexpensive. Immediately I switched out all of the glass jars full of paint with the plastic containers in my cocoa butter warmer. This cut out the use of the microwave all together, saving time. I also learned to save time and water by starting with white and then moving on to lighter colors first and darker colors last. This way I could easily switch out the jars and not have to clean out the whole gun between each color change.

Cocoa Butter Warmer
*TIP* If you don’t heat the colorant thoroughly it will spray little chunks and clog up the air nozzle. The same will happen if you over heat it in the microwave and scorch it. Microwave jar in small intervals like 10 sec to heat further and prevent scorch.
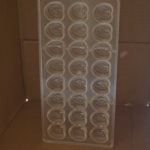
Spraying- You are spraying the actual mold with colored cocoa butter before filling it with your chocolate shell. This can easily get messy quick! Over spray can cover you, your work space and surrounding area. Wear gloves and an apron to protect yourself from hard to clean off cocoa butter and
lay down a drop surface on your work space. I also suggest spraying your tray inside some sort of upright cardboard box to catch even more over spray that emits into the air.
Be sure to hold the gun at right angles in relation to the tray. The paint tip nozzle can be adjusted for paint flow and the regulator knob for air pressure. These adjustments create different effects and must be tweaked for desired effect. I always begin spraying on scrap paper or news print before I start on the actual mold. I found I like the look of a warmer cocoa butter spray because it puddles slightly into the details of the mold.
*TIP* Try lying the mold face down onto wax paper to dry. This will cause the paint on top of the mold to adhere to the paper. This helps prevent excess paint from being scraped into the chocolate when molding shells.
Clean-up– Extra jars mean just capping them for storage. Wipe down air hose, regulator, and propel can with a warm wet cloth. I find concentrated dawn dish soap works best when cleaning cocoa butter. Disassemble gun parts and wash under hot running water with soap. A strait pen is helpful for cleaning out the paint nozzle as well as pipe cleaners for the paint hose.
Of course airbrushing requires lots of practice and experimentation, just as hand painting. But it does save time and creates a whole different style. I’m so glad I finally have an airbrush! I have had so much fun with it so far and will continue to far into the New Year. It gives my chocolates a new kick, one I’ve always wanted. Never give up hope and don’t be afraid to try new things, you just might be successful at them!
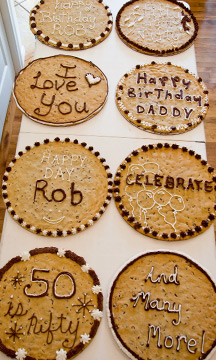
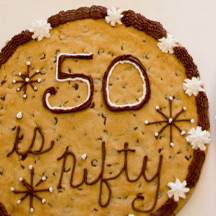 My sister makes these famous Giant cookies for her sons and they love her for it, at least they better! In order to brush up on my expertise I always give her a ring before I even turn the oven on. Maybe after this batch, I become the expert : ) only time will tell….

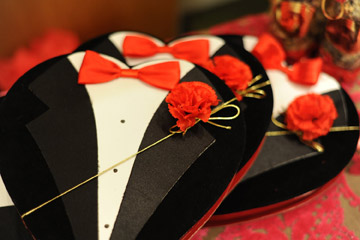

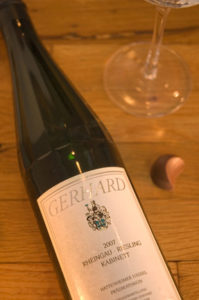
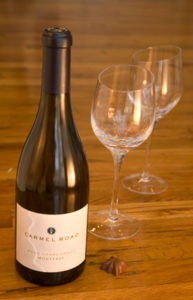
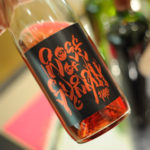 The first pairing was our Very Berry truffle and this refreshing Rose of Syrah, from
 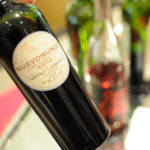 Pairing number two was this Nuevo Mundo Cabernet blend and our Espresso truffle. An organic Chilean red, 60%Cabernet Sauvignon and 40% Carmenere. Flavors include blackberry and black cherry with layers of earthy spice. Espresso is not my favorite truffle because I am not a coffee drinker but oddly enough this was MY favorite pairing for this event! When the flavors meld together in your mouth it’s something truly divine.
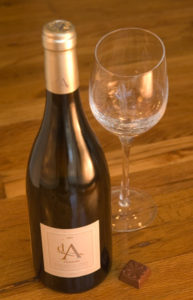
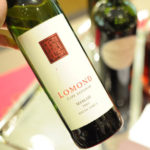 Last but not least we tasted this 2005
 Hi Everyone!





 These simple Chocolate Martinis are a great way to end any party! You can even have them in place of dessert. I recommend using cute 2 or 3oz. martini glasses, because with this chocolate sensation; a little goes a long way! Simple ingredients include chocolate liqueur and vodka. I like to take it up a notch with the addition of vanilla liqueur; others prefer to use vanilla vodka instead. The beauty of this drink is that you have to freedom to make it as strong and/or as chocolaty as you’d like. Play with the ingredients choosing your favorite brands of spirits or adventure to new ones. Then on to the garnish, to dress it up I went with dark chocolate swirls on the glass. You can get creative with this as well, riming the glass with chocolate syrup and then sugar, or floating white chocolate shavings.
 After months, years of wanting and contemplating the wait is over. The task of buying an airbrush is finally done! I feel sort of silly having waited so long but I guess the timing wasn’t right until now. This was really a very easy thing to do and inexpensive as well. Who knew?

